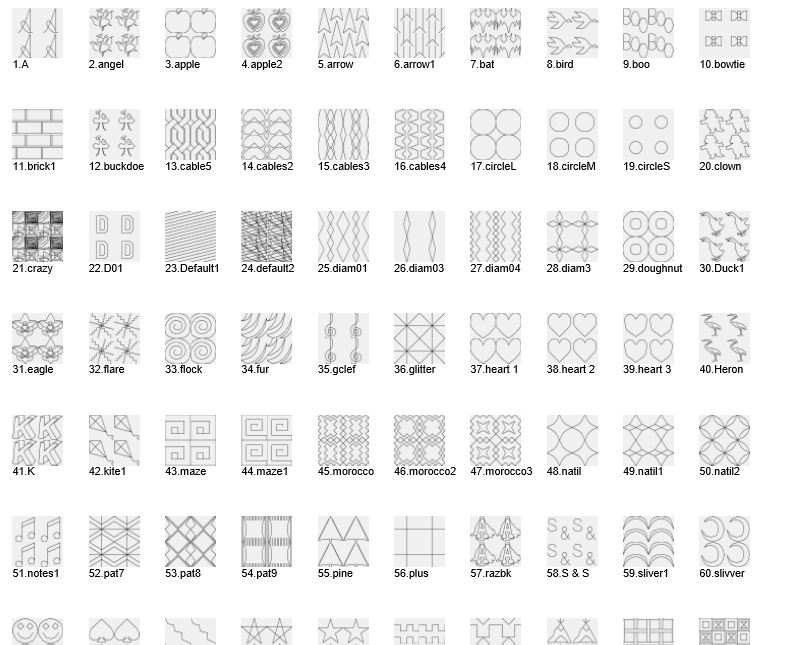
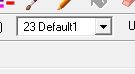
Or you can go to the drop down box and point at each name which will display the pattern out to the left. You will notice on opening SewArt that the Default is always set. The number to the Default will change as you add patterns (covered in another blog).

To change a pattern, go to Stitch Mode,

select a new pattern from the dropdown box


Point and click at the area that you want your new pattern to appear.


Other patterns on a smaller area...not as dramatic.

As pictured above you can have multiple patterns in the same file.


AND finished product using the maze for the hashtag and S&S for the background.

NOW, open the PES file in SewWhatPro for the final visual.

CONGRATULATIONS, you just patternized (my word) an embroidery file!
IF you want to know how to create your own patterns, stay tuned for my next blog on Creating your own Patterns in SewArt.
PeaceLoveEmbroidery...
SewArt is a gift for embroidery digitizers with lots of patterns and also option to add new... Thanks...
ReplyDelete